

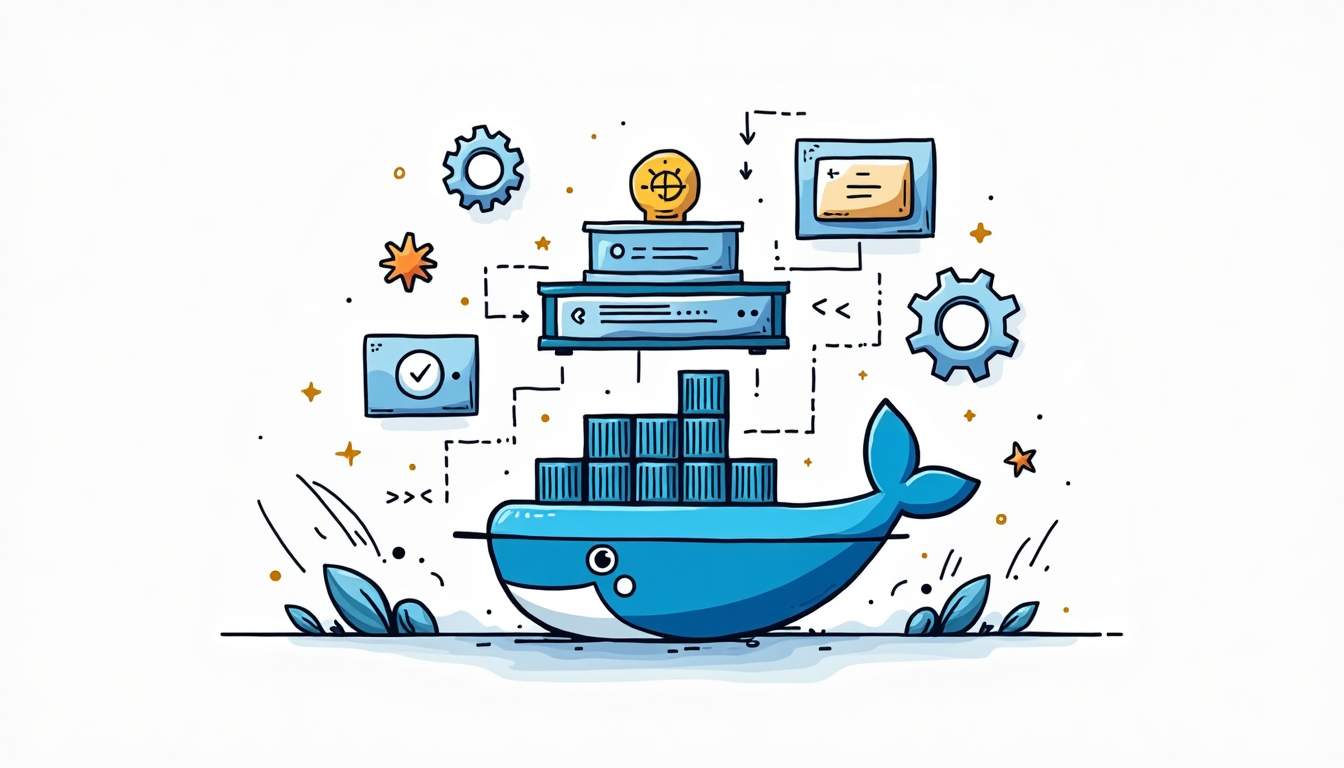
To build a Docker image, write a Dockerfile, choose a small build context, and run docker build -t app-name:tag .. The tag gives the image a name you can run, inspect, push to a registry, or use from Docker Compose.
Quick answer: for a normal app, start with
docker build -t myapp:dev .. If the image rebuilds with stale code, check the build context,.dockerignore, and Docker layer cache before changing the Dockerfile.
What a Docker image actually is
A Docker image is a packaged filesystem plus metadata that tells Docker how to start a container. It usually contains a base operating system layer, runtime dependencies, your application files, and a default command.
The repeatable way to create one is a Dockerfile. A Dockerfile documents each layer, which makes it easier to rebuild the same image in CI, review changes, and explain why the image contains a given package or file.
If you are comparing this with snapshotting a running container, read the separate guide to Docker commit. For application builds, prefer a Dockerfile; use docker commit mostly for debugging or one-off experiments.
Minimal Dockerfile example
Here is a small Python example. The pattern is the same for Node, Go, Java, or other runtimes: choose a base image, copy dependency files first, install dependencies, copy the app, and set the command.
FROM python:3.12-slim

WORKDIR /app

COPY requirements.txt .
RUN pip install --no-cache-dir -r requirements.txt

COPY . .

CMD ["python", "app.py"]Code language: JavaScript (javascript)
The order matters. Docker caches layers. If you copy the whole project before installing dependencies, every code change can invalidate the dependency layer. Copying requirements.txt first lets Docker reuse the dependency install when only application code changes.
For more detail on process startup and the difference between CMD and ENTRYPOINT, use the Dockerfile ENTRYPOINT guide.
Build the image
Run docker build from the directory that contains the Dockerfile. The final dot is not decoration; it is the build context.
docker build -t myapp:dev .Code language: CSS (css)docker buildstarts the build.-t myapp:devnames the image and sets a tag..sends the current directory as the build context.
If your Dockerfile is not named Dockerfile or lives in another directory, pass it explicitly:
docker build -f docker/Dockerfile -t myapp:dev .Keep the build context small with .dockerignore
A common beginner mistake is sending the entire repository to the Docker daemon: Git history, local dependencies, test artifacts, secrets, and build output. That makes builds slower and can accidentally copy files you never wanted inside the image.
.git
.gitignore
node_modules
__pycache__
.pytest_cache
.env
.env.*
dist
build
coverageCode language: CSS (css)
The .dockerignore file works like a filter for the build context. If COPY . . is pulling in too much, fix .dockerignore before adding more Dockerfile tricks.
Tag images in a way you can debug later
For local work, :dev or :latest is fine. For CI and production, use tags that point to a real version, commit, or build number. Reddit and DevOps discussions around image deployment often come back to the same failure mode: a pipeline builds something, but the server keeps running an old or ambiguous latest image.
docker build -t myapp:1.4.2 .
docker build -t myapp:$(git rev-parse --short HEAD) .Code language: JavaScript (javascript)
You can also tag an existing local image before pushing it to a registry:
docker tag myapp:dev registry.example.com/team/myapp:1.4.2Run and verify the image locally
A successful build only proves that Docker created an image. Run a container from it before you push or deploy it.
docker run --rm -p 8080:8080 myapp:devCode language: CSS (css)Then inspect the image list and confirm that the tag, size, and creation time match what you expect:
docker images myapp
docker image inspect myapp:devCode language: CSS (css)
If the app needs persistent data, remember that images are not where runtime data should live. For Compose-based services, the Docker Compose volumes guide explains named volumes versus bind mounts.
Push the image to a registry
Once the image runs locally, tag it for your registry and push it. The exact registry can be Docker Hub, GHCR, ECR, GCR, ACR, or an internal registry. Never pass registry passwords inline in a shell command; use docker login interactively or a credential helper / --password-stdin in CI.
docker login registry.example.com
docker tag myapp:dev registry.example.com/team/myapp:1.4.2
docker push registry.example.com/team/myapp:1.4.2
If you later see pull errors such as “manifest unknown,” the image tag probably does not exist in the registry you are pulling from. The Docker manifest unknown troubleshooting guide covers that failure mode.
Common mistakes when building Docker images
Use these checks when a build succeeds but the image does not behave the way you expected.
1. Forgetting the build context
If COPY cannot find a file, check where you run docker build from. Docker can only copy files that are inside the build context.
# If Dockerfile is in ./docker but source is in the project root:
docker build -f docker/Dockerfile -t myapp:dev .Code language: PHP (php)
2. Rebuilding with stale code
If the image keeps using old code, check whether the file is excluded by .dockerignore, whether you are building the right directory, and whether Docker cache is hiding the change.
docker build --no-cache -t myapp:debug .Code language: CSS (css)Use --no-cache as a diagnostic tool, not as your normal build mode. A better long-term fix is usually Dockerfile ordering or a cleaner build context. For noisy builds, docker build --progress=plain can make the build log easier to read in CI or terminal output.
3. Using latest everywhere
latest is a tag, not a guarantee that every server has pulled the newest image. In CI/CD, prefer immutable tags such as a version or Git SHA, then update deployments to that exact tag.
4. Installing dependencies after copying the whole app
This makes small code edits invalidate dependency layers. Copy lockfiles or dependency manifests first, install dependencies, then copy the rest of the app.
5. Building huge images by accident
Large images usually come from oversized base images, missing .dockerignore, build tools left in the final image, or package manager caches. When size matters, use smaller base images and consider multi-stage builds. RepoNotes has a separate guide to multistage Dockerfiles.
Docker build vs Docker Compose build
docker build builds one image from a Dockerfile. docker compose build builds the services defined in a Compose file. If your project has multiple services, Compose can build them together and then start them with docker compose up.
docker compose build
docker compose up -d
If your next step is running a stack, start with the Docker Compose Up guide. If a service exits and you need it to come back automatically, use the Docker Compose restart policy guide.
Cleanup commands
Local builds create images and cache. Clean up only what you mean to remove.
docker images
docker rmi myapp:dev
docker builder pruneCode language: CSS (css)
docker builder prune removes build cache, not just one image. It can free disk space, but it also makes future builds slower until the cache is rebuilt. On modern Docker installations, BuildKit is usually the default builder, so cache behavior may be smarter than older tutorials describe, but the same principle applies: fix the Dockerfile and context before disabling cache permanently.
Recommended workflow
- Create a Dockerfile that starts from a maintained base image.
- Add a
.dockerignorebefore the first serious build. - Build with a clear tag:
docker build -t myapp:dev .. - Run the image locally and verify the app starts.
- Use explicit tags in CI and production instead of relying on
latest. - Push only tested images to your registry.
That flow is boring, but it is repeatable. When something breaks, you can inspect the Dockerfile, the build context, the tag, and the registry state instead of guessing what changed inside a manually modified container.
What is the command to build a Docker image?
Use docker build -t image-name:tag . from the directory that contains your Dockerfile. The final dot is the build context.
What does the dot mean in docker build?
The dot means “send the current directory as the build context.” Docker can only copy files that are inside that context, so keep it small with a .dockerignore file.
Should I use the latest tag for Docker images?
Use latest for quick local testing if you want, but use explicit tags such as 1.4.2, a Git SHA, or an environment tag for CI and production.
Why does docker build use old code?
Usually the build context, cache, or Dockerfile copy order is wrong. Check that the file is inside the context, review .dockerignore, and rebuild with –no-cache only when you need to rule out cache issues.
What is the difference between docker build and docker commit?
docker build creates an image from a Dockerfile and is repeatable. docker commit snapshots a running container and is better for debugging or one-off experiments, not normal app builds.

Leave a Reply