

Jenkins has become a cornerstone in the world of continuous integration and continuous delivery (CI/CD), empowering developers and organizations to automate software building, testing, and deployment. With its growing adoption—boasting approximately 44% of the CI/CD market share and over 11 million developers worldwide—Jenkins remains a top choice for streamlining software delivery pipelines. This guide will walk you through the process of installing Jenkins on a Windows machine, helping you harness its powerful capabilities with ease.
Why Choose Jenkins for Your CI/CD Needs?
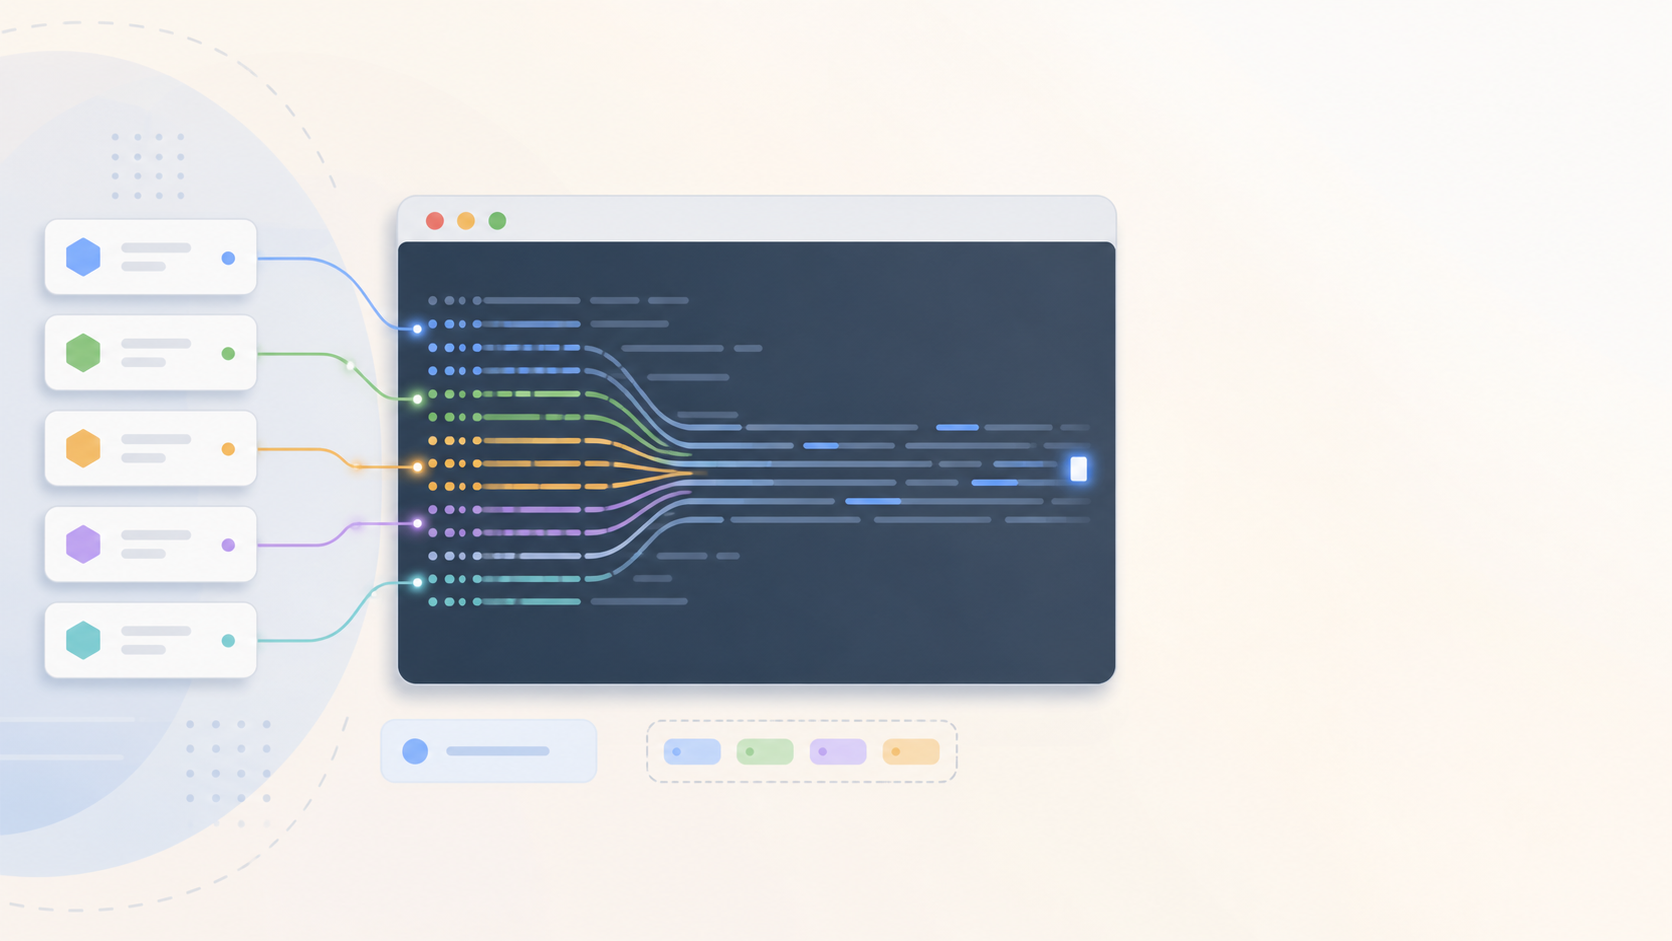
Before diving into the installation steps, it’s worth understanding why Jenkins is a preferred tool in the software development ecosystem. Jenkins Pipeline usage has surged by 79% between June 2021 and June 2023, reflecting its increasing importance in speeding up software delivery. According to Gerard McMahon, Head of ALM Tools and Platforms at Fidelity Investments, Jenkins Pipeline “helps enterprises substantially improve the process of building and delivering software while reducing risks, improving feature velocity, and driving greater end-to-end quality and efficiency.” This impressive growth can be attributed to Jenkins’ robust ecosystem of plugins, which allows teams to customize their CI/CD workflows to meet specific project requirements. With over 1,800 plugins available, developers can integrate Jenkins seamlessly with popular tools like Docker, Kubernetes, and various cloud services, ensuring that it fits well into any existing tech stack.
Moreover, Jenkins is celebrated for its flexibility and ease of installation, capable of running on virtually any platform, including Windows. Its open-source nature and continuous innovation have earned it accolades such as the DevOps Dozen award for Most Innovative Open Source Project in 2024—its second consecutive win—highlighting its relevance and community support. The vibrant Jenkins community not only contributes to its vast library of plugins but also provides extensive documentation and forums for troubleshooting, making it accessible for newcomers and seasoned developers alike. Additionally, Jenkins supports distributed builds, allowing teams to scale their operations efficiently by distributing workloads across multiple machines, which significantly enhances performance and reduces build times. This capability is especially beneficial for large organizations that require rapid iterations and frequent deployments, ensuring that they remain competitive in today’s fast-paced digital landscape.
Prerequisites for Installing Jenkins on Windows
To ensure a smooth Jenkins installation on your Windows system, prepare the following:

- Windows OS: Jenkins supports Windows 7 and above, including Windows Server editions.
- Java Development Kit (JDK): Jenkins requires Java to run. It’s recommended to install OpenJDK 11 or newer.
- Administrator Access: You’ll need admin rights to install Jenkins as a Windows service.
- Internet Connection: For downloading Jenkins and any plugins you may want to add later.
Installing Java on Windows
Since Jenkins runs on Java, the first step is to ensure Java is installed and properly configured on your system.
- Visit the official OpenJDK website or adopt OpenJDK distributions like Eclipse Temurin.
- Download the Windows installer for JDK 11 or later.
- Run the installer and follow the prompts to complete the installation.
- Set the
JAVA_HOMEenvironment variable:- Search for “Environment Variables” in Windows Search and open “Edit the system environment variables.”
- Click “Environment Variables,” then under “System variables,” click “New.”
- Enter
JAVA_HOMEas the variable name and the path to your JDK installation folder as the value. - Click OK to save.
- Verify Java installation by opening Command Prompt and typing
java -version. You should see the installed Java version.
It’s also worth noting that while OpenJDK is a popular choice, there are other distributions available, such as Oracle JDK, Amazon Corretto, and AdoptOpenJDK. Each of these has its own set of features and optimizations, so you might want to explore them based on your specific needs and preferences. For instance, Oracle JDK offers long-term support and is widely used in enterprise environments, while Amazon Corretto is designed for production use with a focus on performance and security.
Additionally, after installing Java, it’s a good practice to keep your JDK updated. Regular updates not only provide new features but also patch security vulnerabilities that could be exploited. You can set up a reminder to check for updates every few months, or you can automate the process using scripts or tools that notify you when a new version is available. This proactive approach ensures that your Jenkins environment remains secure and efficient, enabling you to focus on your development tasks without worrying about outdated software.
Step-by-Step Jenkins Installation on Windows
With Java ready, follow these steps to install Jenkins:
1. Download Jenkins Installer
Navigate to the official Jenkins website and download the Windows installer (.msi) for the Long-Term Support (LTS) version. The LTS version is recommended for most users due to its stability and extended support. This version is particularly beneficial for organizations that prioritize reliability and consistency in their CI/CD pipelines, as it receives critical updates and security patches without introducing the potential instability of newer features found in the weekly releases.
2. Run the Jenkins Installer
Double-click the downloaded .msi file to launch the Jenkins setup wizard. The installer will guide you through the installation process:
- Accept License Agreement: Read and accept the terms to proceed.
- Choose Installation Folder: The default path usually suffices, but you can customize it if needed. Keep in mind that selecting a path with adequate permissions is crucial for Jenkins to function correctly.
- Configure Jenkins as a Windows Service: This option is selected by default, allowing Jenkins to start automatically with Windows. Running Jenkins as a service ensures that it operates in the background, making it easier to manage and integrate into your workflow.
- Specify Port: Jenkins typically runs on port 8080. Ensure this port is free or specify a different one. If you are running multiple applications on the same machine, you may want to check for port conflicts to avoid disruptions.
3. Complete Installation
Once the installer finishes, Jenkins will start automatically as a Windows service. You can verify this by opening the Services app and looking for the Jenkins service status. If you encounter any issues, checking the logs located in the Jenkins installation directory can provide insight into what went wrong during the startup process.
4. Unlock Jenkins
Open your web browser and go to http://localhost:8080 (or your specified port). Jenkins will prompt you to unlock it using an initial admin password.
To find this password:
- Navigate to
C:\Program Files (x86)\Jenkins\secrets\initialAdminPassword(or the installation directory you chose). This file is generated during the installation and is crucial for securing your Jenkins instance. - Open the file and copy the password.
- Paste it into the Jenkins web interface to unlock the setup.
5. Customize Jenkins Setup
After unlocking, Jenkins will offer to install suggested plugins. It’s advisable to install these plugins as they cover essential functionality. These plugins enhance Jenkins’ capabilities, allowing for integration with various version control systems, build tools, and notification services, which can significantly streamline your development workflow.
You can also create the first admin user during this step or continue with the default admin account. Setting up a dedicated admin user is a best practice, as it allows for better management of permissions and access controls, ensuring that your Jenkins environment remains secure and organized. Additionally, consider configuring user roles and permissions based on the needs of your team to facilitate a collaborative development environment.
Post-Installation Configuration and Best Practices
With Jenkins installed, consider the following to optimize your setup:
Configure Jenkins Pipeline
Jenkins Pipeline is a powerful feature that defines your entire build, test, and deployment process as code. It’s no surprise that 87% of Jenkins users practicing continuous delivery utilize Jenkins Pipeline to define their software delivery pipelines. Setting up pipelines early can greatly enhance automation and visibility.
Secure Your Jenkins Instance
Security is paramount. Change default credentials, enable HTTPS, and configure user roles and permissions carefully. Regularly update Jenkins and installed plugins to patch vulnerabilities.
Backup Jenkins Configuration
Regularly back up Jenkins home directory, which contains job configurations, plugins, and user data. This practice will save time and headaches in case of system failures.
Leverage Cloud Hosting
While this guide focuses on Windows installation, it’s worth noting that Jenkins is increasingly hosted on cloud platforms. In 2018, 78% of Jenkins users hosted Jenkins on some form of cloud, up from 62% the previous year, reflecting the trend towards scalable and flexible infrastructure.
Troubleshooting Common Jenkins Installation Issues on Windows
Even with a straightforward installation process, some users may encounter issues. Here are common problems and solutions:
Jenkins Service Fails to Start
This can happen if the Java path is incorrect or the port Jenkins is trying to use is occupied.
- Verify the
JAVA_HOMEenvironment variable is correctly set. - Check for port conflicts using
netstat -aon | findstr 8080in Command Prompt. - Change Jenkins port in the
jenkins.xmlfile located in the Jenkins installation directory if needed.
Access Denied Errors
Make sure you run the installer and Jenkins service with administrator privileges. Also, check Windows firewall settings to allow traffic on Jenkins’ port.
Plugin Installation Fails
Network restrictions or proxy settings may block plugin downloads. Configure proxy settings in Jenkins or download plugins manually if necessary.
Conclusion
Installing Jenkins on Windows is a straightforward process that opens the door to powerful automation for software development teams. Given Jenkins’ extensive adoption—holding nearly half of the CI/CD market share—and its continuous innovation, investing time in mastering Jenkins installation and configuration is well worth the effort.
By following this step-by-step guide, you can have Jenkins up and running on your Windows machine quickly, ready to build robust pipelines that accelerate your software delivery. Remember to leverage Jenkins Pipeline for defining your workflows, secure your installation, and stay current with updates to maximize Jenkins’ benefits.
As Jenkins continues to evolve and grow in popularity, joining its vibrant community and exploring its rich plugin ecosystem will further enhance your DevOps journey.

Leave a Reply