


Kubernetes has become the cornerstone of modern container orchestration, enabling organizations to deploy, scale, and manage applications efficiently across diverse environments. As enterprises increasingly adopt Kubernetes—over 70% globally have embraced container-based deployment models—the need to optimize workload placement on cluster nodes is more critical than ever. One fundamental mechanism for achieving this is the Kubernetes Node Selector.
This guide dives deep into what Node Selectors are, how they work, and why they matter in today’s complex Kubernetes ecosystems. Whether you’re managing a handful of clusters or operating at the scale where 56% of businesses have more than 10 Kubernetes clusters, understanding Node Selectors can help you improve resource utilization, enhance security, and streamline operations.
What is a Kubernetes Node Selector?
At its core, a Kubernetes Node Selector is a simple yet powerful way to constrain pod placement to specific nodes within a cluster. When you deploy an application, Kubernetes schedules pods onto nodes based on available resources and other constraints. Node Selectors add an additional layer by specifying node labels that a pod must match to be scheduled there.
Node labels are key-value pairs attached to nodes, representing attributes such as hardware characteristics, geographic location, or custom tags defined by cluster administrators. By using Node Selectors, developers and operators can ensure that pods run on nodes that meet particular criteria, such as nodes with GPUs, nodes in a specific data center, or nodes dedicated to certain workloads.
How Node Selectors Work
When a pod specification includes a Node Selector, the Kubernetes scheduler evaluates the labels on each node and only considers those that match the selector’s criteria. If no nodes match, the pod remains pending until a suitable node becomes available or the selector is adjusted.
For example, a Node Selector might look like this in a pod manifest:
nodeSelector: disktype: ssdThis instructs Kubernetes to schedule the pod only on nodes labeled with disktype=ssd. It’s a straightforward mechanism but highly effective for controlling pod placement.
Node Selectors are particularly useful in environments where resource optimization is critical. For instance, in a cloud-based infrastructure where costs can escalate quickly, ensuring that compute-intensive applications run on high-performance nodes can lead to significant savings and improved application performance. By leveraging Node Selectors, teams can also manage workloads more efficiently, ensuring that specific applications that require unique resources do not interfere with others that have different requirements.
Moreover, Node Selectors can be combined with other scheduling features in Kubernetes, such as Taints and Tolerations, to create a more sophisticated scheduling strategy. While Node Selectors allow for basic filtering based on labels, Taints and Tolerations enable a more nuanced approach where nodes can repel certain pods unless those pods explicitly tolerate the taint. This combination allows for a robust and flexible scheduling mechanism that can cater to complex application needs and operational policies.
Why Use Node Selectors? Key Benefits and Use Cases
Node Selectors are foundational to Kubernetes scheduling strategies. Their importance grows as clusters scale and environments diversify, especially given that 69% of organizations run Kubernetes in multiple clouds or hybrid environments. Here are some key reasons to use Node Selectors:
Optimizing Resource Allocation
Different workloads have varying resource requirements. Some may need high CPU or memory, while others require specialized hardware like GPUs or NVMe storage. Node Selectors enable precise targeting of these resources, ensuring that pods run where they perform best.
For instance, machine learning workloads can be directed to GPU-enabled nodes, while latency-sensitive applications might be scheduled on nodes in specific geographic zones. This targeted allocation not only maximizes performance but also helps in managing costs effectively, as organizations can avoid over-provisioning resources and instead allocate them based on actual demand. Additionally, by using Node Selectors in conjunction with other Kubernetes features like Resource Requests and Limits, teams can create a more efficient and predictable resource management strategy.
Enhancing Security and Compliance
Security is a top concern in Kubernetes environments, ranking as the fourth most prevalent topic in community discussions. Node Selectors can help isolate sensitive workloads by restricting them to dedicated nodes with enhanced security controls.
By labeling nodes that meet compliance standards or have hardened configurations, organizations can enforce policies that prevent sensitive pods from running on less secure nodes. This approach complements broader security measures, such as AWS’s recent improvements with automatic envelope encryption of Kubernetes API data in version 1.28 and later. Furthermore, organizations can implement additional layers of security, such as network policies and role-based access controls (RBAC), to further safeguard sensitive workloads, ensuring that only authorized users can access critical resources. This multi-faceted security strategy not only protects data but also builds trust with clients and stakeholders.
Facilitating Multi-Tenancy and Workload Segregation
In multi-tenant clusters, Node Selectors help segregate workloads by tenant or application type. This separation minimizes resource contention and potential interference between teams or services, improving overall cluster stability and reliability.
Field studies have shown that enterprise platforms leveraging such configuration controls can reduce errors by 15 units and increase system reliability by 20 units, highlighting the operational benefits of thoughtful workload placement. Moreover, by utilizing Node Selectors, organizations can simplify their billing and resource usage tracking, as different teams or departments can be allocated specific nodes based on their requirements. This clear delineation not only aids in financial accountability but also fosters a culture of ownership and responsibility among teams, as they can directly see the impact of their workloads on the overall cluster performance and resource utilization.
How to Implement Node Selectors Effectively
Implementing Node Selectors requires a combination of strategic labeling and careful pod specification. Here are best practices to ensure effective use:
1. Label Nodes Consistently
Node labels should be meaningful, consistent, and documented. Common labels include hardware specs (cpu=high, gpu=true), environment (env=production), and geographic location (zone=us-east-1a).
Consistency across clusters, especially in multi-cloud or hybrid setups, simplifies management and reduces scheduling errors. Additionally, it is advisable to establish a labeling convention that all team members adhere to. This could involve creating a shared document or internal wiki that outlines the labeling strategy, including examples and guidelines for future labels. Such documentation not only aids in onboarding new team members but also helps in maintaining clarity as the infrastructure evolves over time.
2. Use Node Selectors in Pod Specifications
In the pod manifest YAML, include the nodeSelector field under the spec section. This explicitly directs the scheduler where to place the pod.
Example:
apiVersion: v1kind: Podmetadata: name: example-podspec: containers: - name: nginx image: nginx nodeSelector: disktype: ssdWhen defining the nodeSelector, it’s important to consider the implications of your choices on resource utilization and performance. For instance, if you label nodes based on their storage type, ensure that your applications are optimized to leverage the benefits of those specific resources. This can lead to improved performance and efficiency, as pods running on nodes with the appropriate characteristics are likely to perform better than those on mismatched nodes.
3. Combine with Other Scheduling Features
While Node Selectors are useful, they are somewhat limited. For more complex scheduling needs, consider combining them with:
- Node Affinity: Offers more expressive rules, including operators like
In,NotIn, and preferences. - Taints and Tolerations: Control which pods can be scheduled on nodes with specific taints.
- Pod Affinity/Anti-Affinity: Influence pod co-location or separation.
These tools provide flexibility beyond the exact-match constraints of Node Selectors. For example, Node Affinity can allow you to specify that a pod should ideally run on a node with certain labels, but if no such nodes are available, it can fall back to other nodes. This can be particularly useful in dynamic environments where node availability may change frequently due to scaling events or maintenance activities. Similarly, incorporating Taints and Tolerations can help manage resource allocation more effectively, ensuring that critical applications are not inadvertently scheduled on nodes that may not meet their performance requirements.
Challenges and Considerations When Using Node Selectors
Despite their simplicity, Node Selectors come with limitations and potential pitfalls that operators should be aware of.
Limited Expressiveness
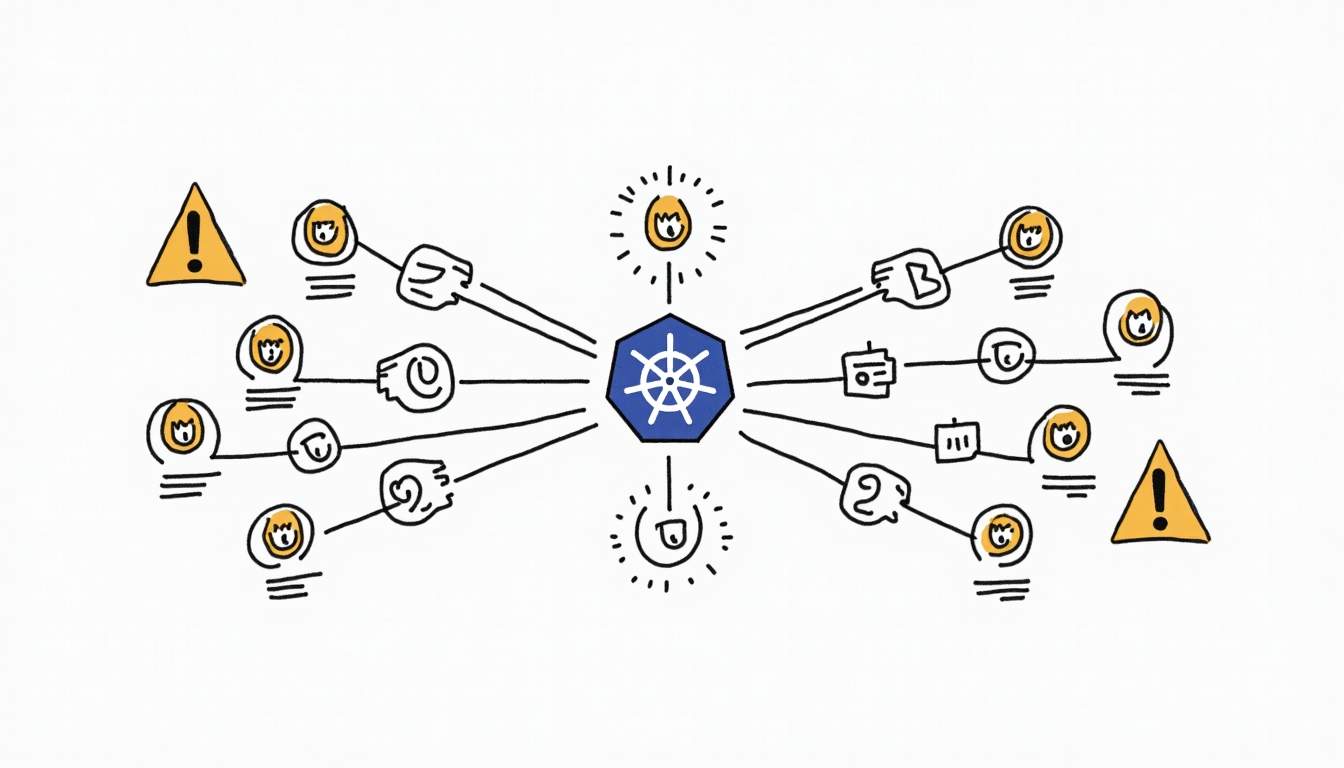
Node Selectors only support exact matches on node labels. They cannot express complex rules like “schedule on nodes with gpu=true but not in zone us-west-2.” For such cases, Node Affinity is more appropriate.
Risk of Pod Starvation
If no nodes match the Node Selector criteria, pods remain in a pending state indefinitely. This can lead to application downtime or degraded performance, especially in dynamic environments where node availability fluctuates.
Maintenance Overhead
Maintaining accurate and consistent node labels requires operational discipline. Mislabeling or inconsistent labeling can cause scheduling failures and complicate troubleshooting.
Learning Curve and Complexity
Kubernetes is known for its steep learning curve, which can cause real challenges for teams adopting it. As Ant Newman, Director of Content at Spectro Cloud, notes, trivializing these challenges risks overlooking genuine issues that impact productivity and adoption.
Understanding scheduling concepts like Node Selectors is a step toward mastering Kubernetes, but organizations should invest in training and tooling to ease this journey.
Looking Ahead: The Role of Node Selectors in Evolving Kubernetes Ecosystems
The Kubernetes landscape continues to evolve rapidly. With 80% of organizations expecting their Kubernetes scale to grow, strategies for efficient workload placement will become increasingly vital.

New features and improvements, such as AWS’s enhancements to Kubernetes API security, underscore the importance of integrating scheduling controls with broader platform capabilities. As clusters expand across multiple clouds and edge environments, Node Selectors will remain a foundational tool, complemented by advanced scheduling techniques and platform automation.
Moreover, as enterprises seek to reduce configuration errors and boost system reliability—as demonstrated by field studies reporting significant improvements with enterprise platforms—effective use of Node Selectors and related mechanisms will be a key enabler of operational excellence.
Conclusion
Kubernetes Node Selectors provide a straightforward yet essential method for controlling pod placement within clusters. By leveraging node labels, organizations can optimize resource utilization, enhance security, and maintain workload segregation in increasingly complex environments.
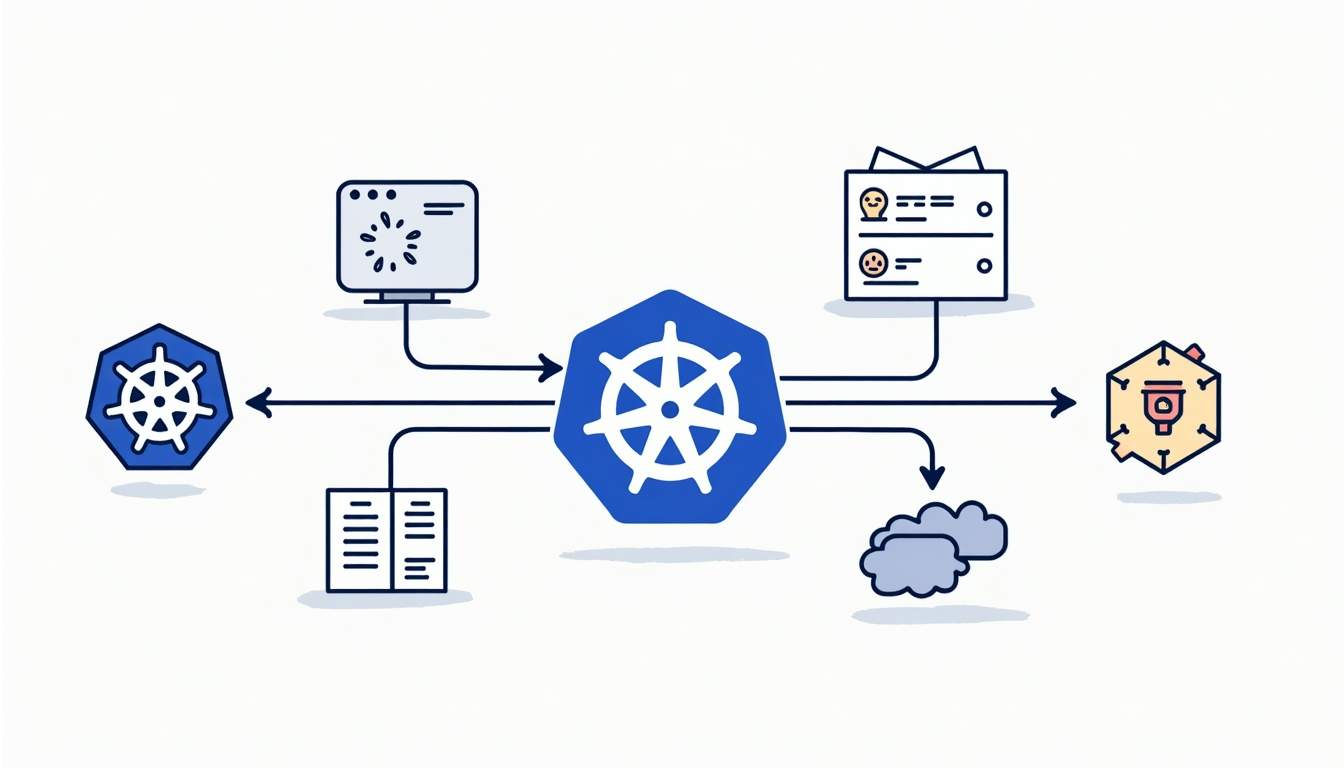
While Node Selectors have limitations, their simplicity makes them an excellent starting point for Kubernetes scheduling. Combined with other features like Node Affinity and Taints, they form part of a comprehensive toolkit for managing containerized workloads at scale.
As Kubernetes adoption continues to grow and evolve, mastering Node Selectors and related scheduling strategies will be crucial for teams aiming to deliver reliable, secure, and efficient applications in production.


Leave a Reply